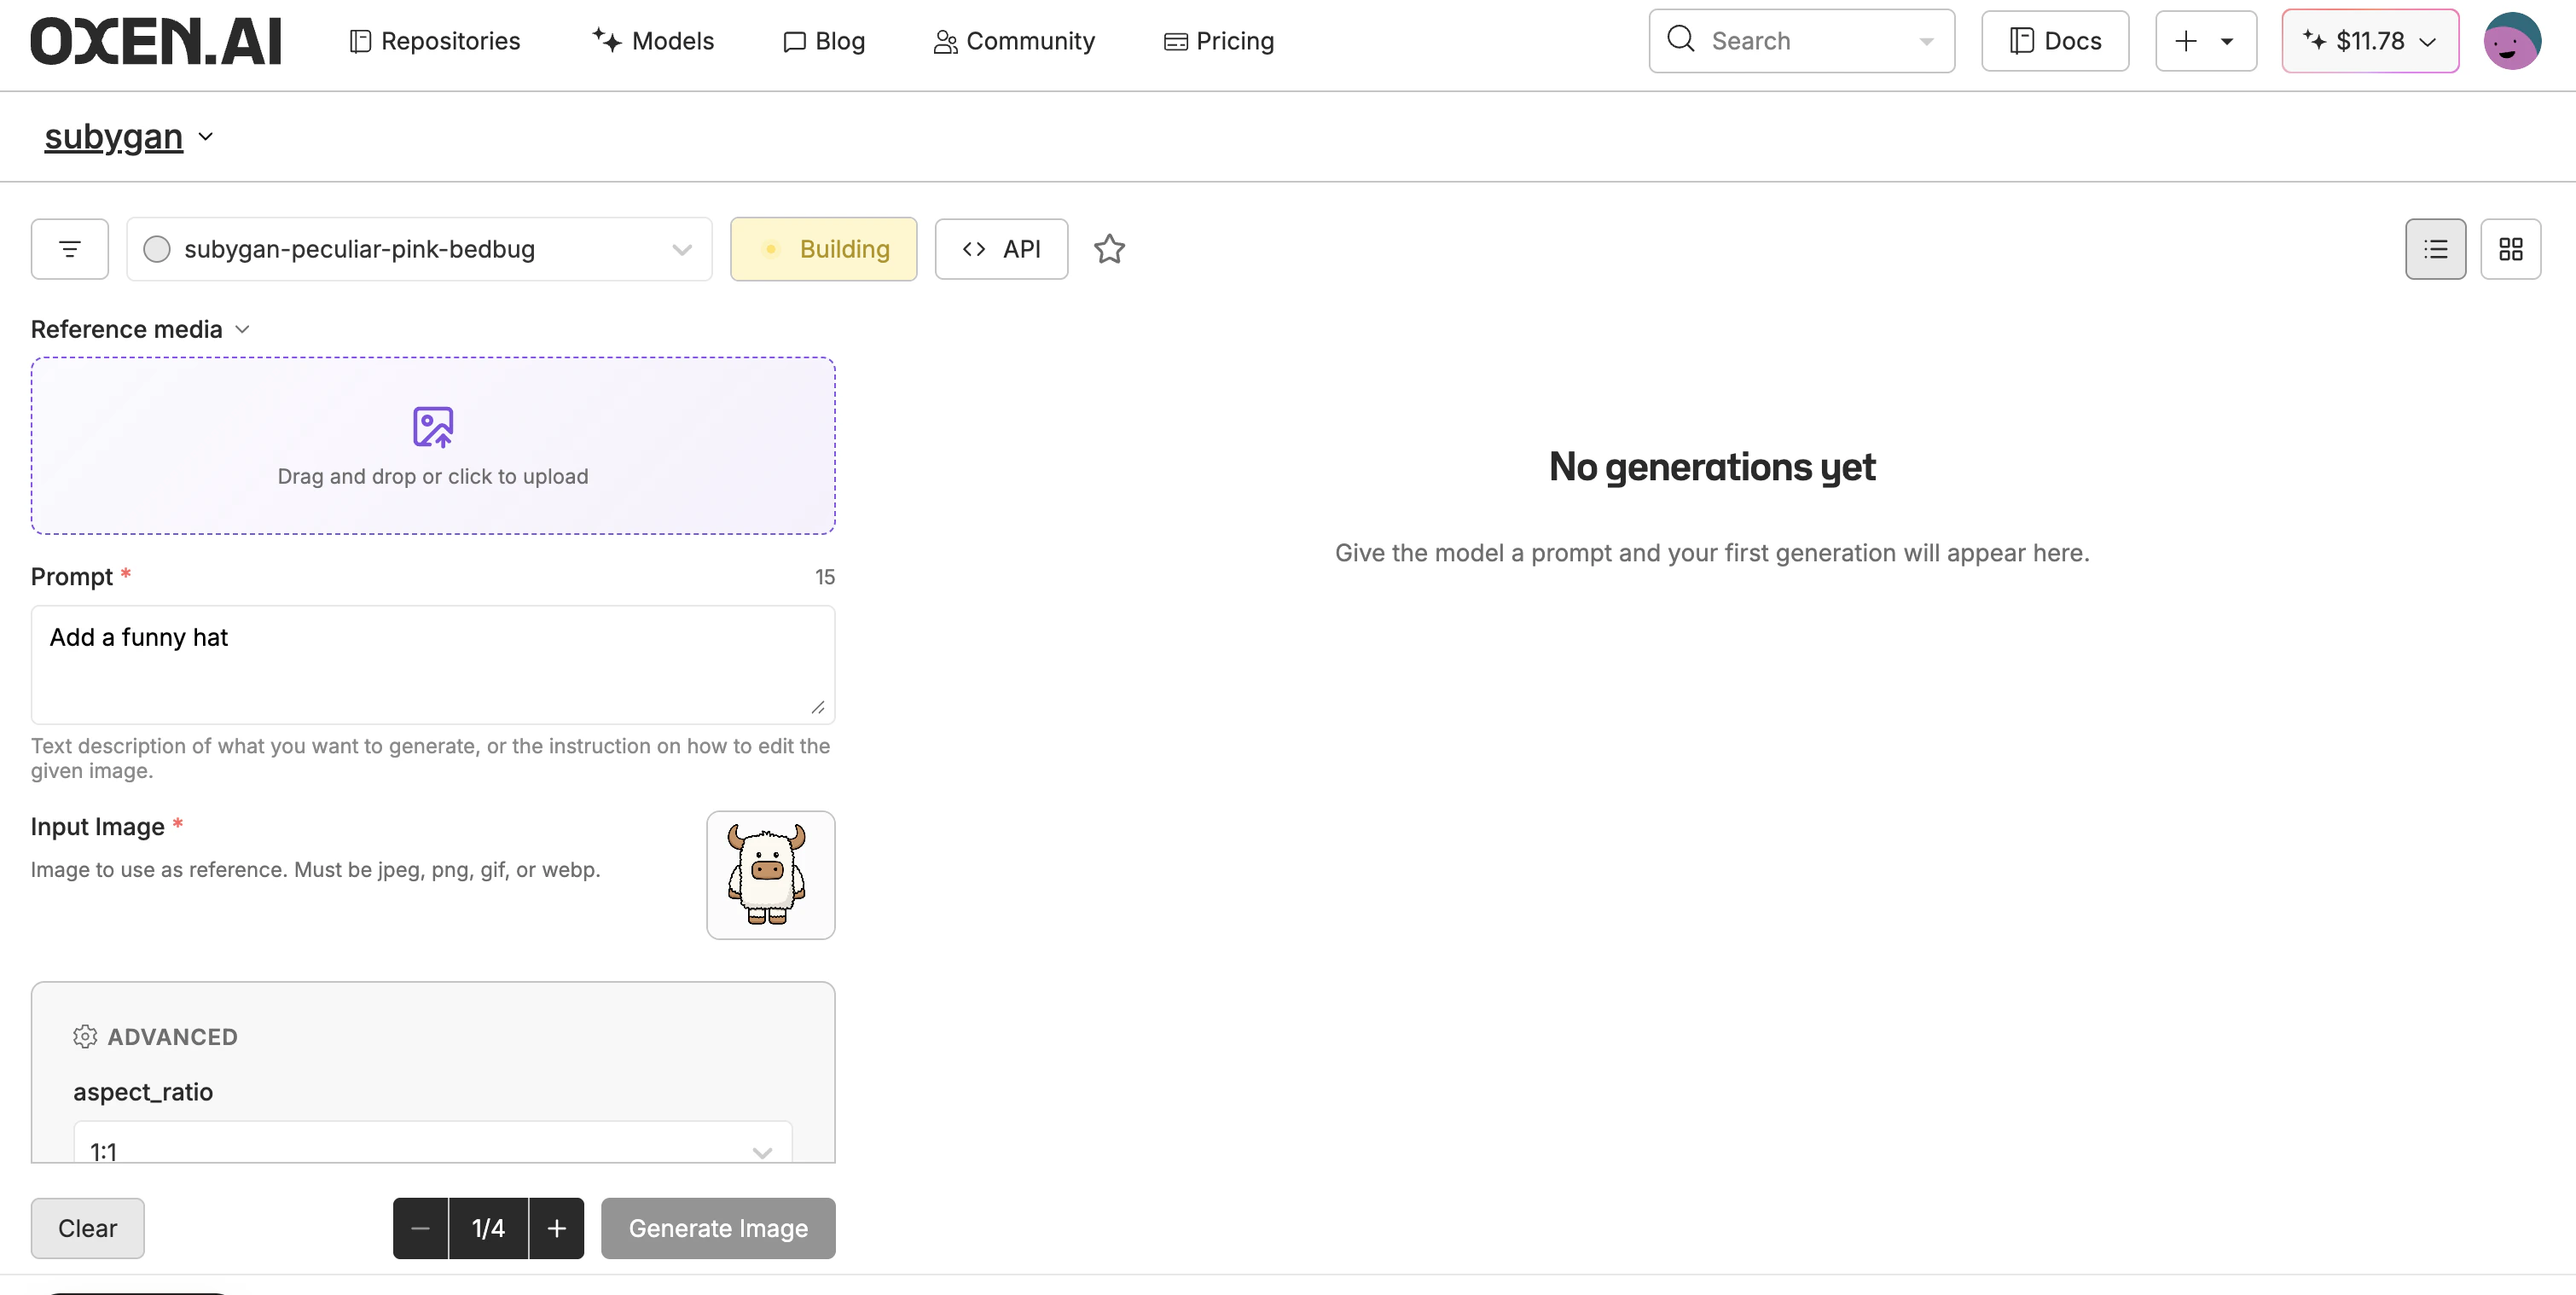
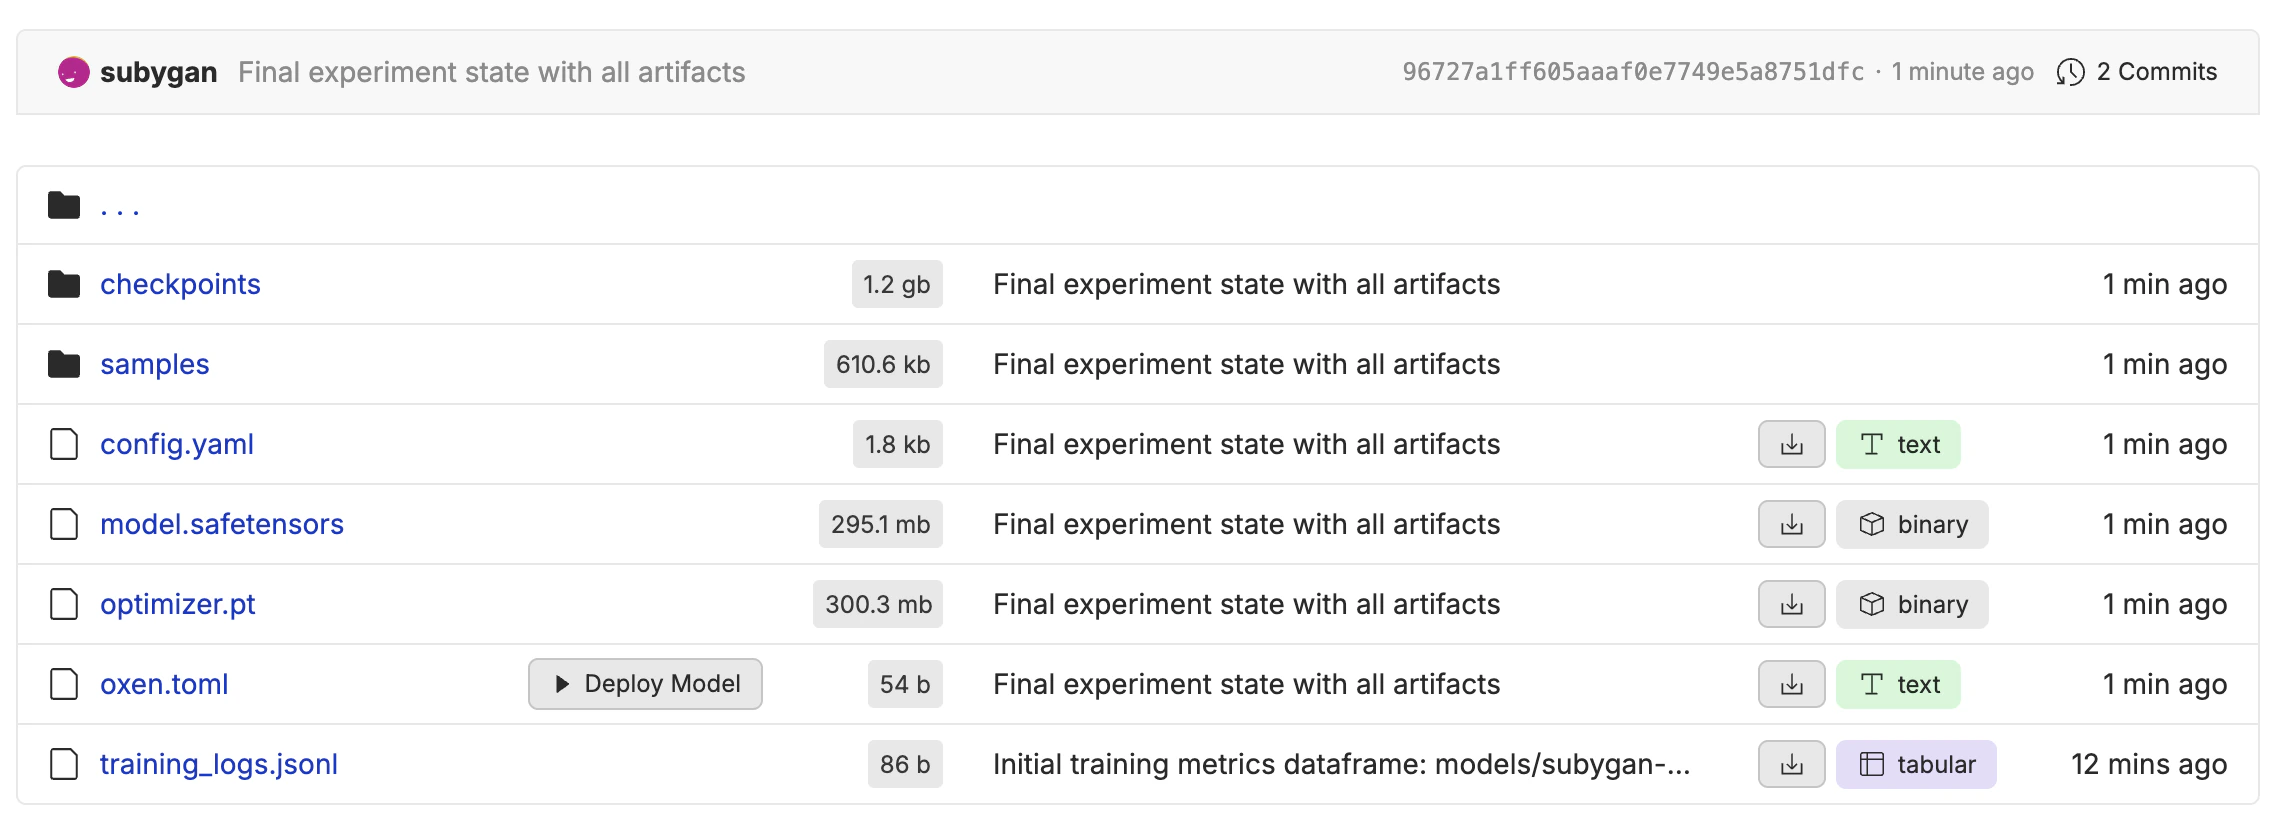
oxen.toml with a valid [model] section becomes deployable from the Oxen.ai UI. Browse to the folder and a Deploy Model button appears alongside the file listing. Clicking it provisions a dedicated inference endpoint using the settings in oxen.toml.
Below is an example of the deploy model button:
The oxen.toml file
Place the file at the root of the directory you want to deploy. Only one [model] section is required.
oxen.toml
Examples
LoRA adapter
A directory containing LoRA weights trained on top of a supported base model:oxen.toml
Full fine-tune
A directory containing full model weights:oxen.toml
Image model
Thesource field works for any supported base model, including image and video models:
oxen.toml
The UI workflow
- Push a directory containing model weights and an
oxen.tomlto your repository. - Navigate to that directory in the Oxen.ai UI.
- Click Deploy Model. Oxen.ai reads
oxen.toml, resolves the base model, and spins up a dedicated endpoint. - Once the deployment is live, use the returned model name with the Inference API or the in-browser playground.